

 Español
Deck Maintenance Checklist: Steps That Keep Wood and Composite Decks Solid
News-Content
Stand at the edge of your deck and inspect it the way a contractor would before signing off on the structure. Most homeowners look at the surface boards first—stains, cracks, cupping—but the defects that actually shorten a deck's life are usually at or near the structure: a popped screw, a corroded clip, water pooled around a joist connection, or a railing that moves under pressure. A reliable deck maintenance checklist separates those structural checks from cosmetic work, so the dangerous problems are fixed before the expensive ones appear.
Your decking material determines how long that checklist has to be. This guide walks through the inspection sequence, the cleaning steps that protect the surface, and the repairs that stop small defects from turning into an entire replacement.
The Deck Maintenance Checklist at a Glance
Here is the short version first. The table below summarizes what matters on a typical maintenance cycle. It groups work by frequency instead of by material, because sequence is what keeps a deck safe.
| Frequency | What to do | Why it matters |
|---|---|---|
| Every 1–2 months | Sweep debris off the deck and confirm that no fastener has lifted above the surface. | Debris traps moisture, and a raised screw or clip is the first sign of a failing connection. |
| Seasonally | Rinse the surface and scrub moss or algae out of shaded corners and joints. | Biological growth makes the deck slippery and holds water against the board surface. |
| Twice a year | Inspect stair connections, railings, post bases, joists, flashing, and any re-entry point. | Most structural failures start at connections where water collects and fasteners corrode. |
| As needed | Replace cracked or warped boards, swap worn clips, and renew the seal on wood. | A twenty-minute repair now avoids a full board replacement next year. |
Read the table from top to bottom: structural checks come first, surface care second, and replacement work only after the problem has been confirmed. A dirty deck is a cosmetic issue, but a deck with a loose stair stringer is a safety issue.
Inspect the Structure in the Right Order
Move planters, furniture, and storage containers before you start. Those items block your view, and they also hold moisture against the boards while the area underneath stays damp.
Fasteners and Connectors Fail First
Walk every joist seam. Wood boards shrink and swell from season to season, which pushes nails up and strips screw threads; composite boards move less, but the clips that hold them can crack where they snap onto the track. Press boards with your fingers—any visible vertical movement means the fastener has lost its grip. For clip-based systems, look for hairline cracks in the plastic tabs, which usually develop when clips are not matched to the board profile. Reusing the wrong clip is one of the most common sources of future rattles, and our accessories guide covering clips, joists, and edge trim explains why it pays to match components instead of improvising our accessories guide covering clips, joists, and edge trim. If a clip snaps, replace it with the same type as the original, such as concealed PP plastic decking clips, so the expansion gap stays consistent across the whole row.
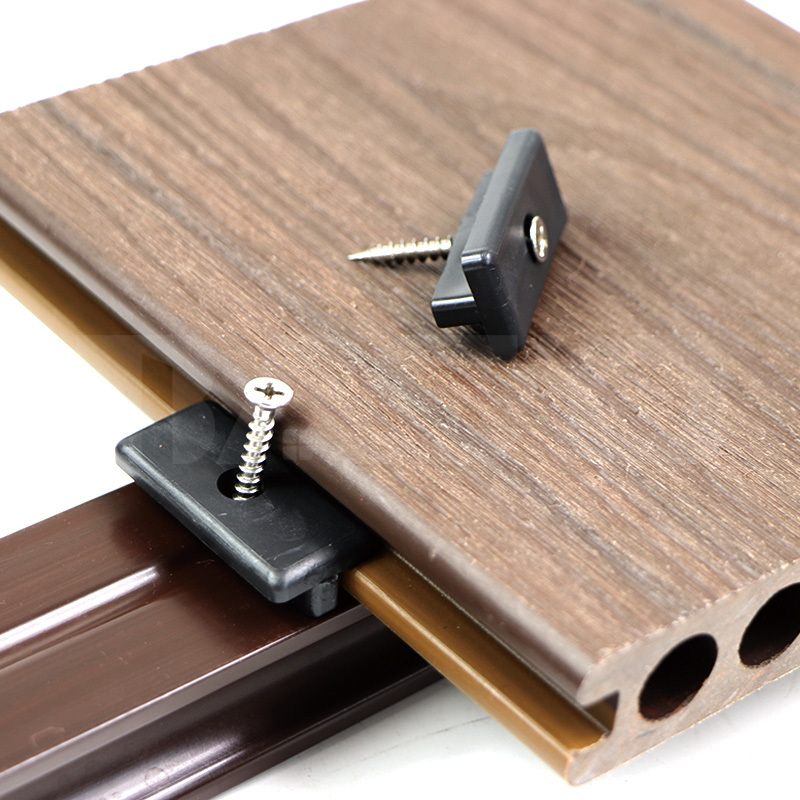 Suppliers of Concealed Clip System PP Plastic Decking Clips, wholesale Company -Baosheng is Concealed Clip System PP Plastic Decking Clips Supplier and Company in China, Wholesale Concealed Clip System PP Plastic Deck...View Product →
Check Every Board, Not Just the Surface
Look at each board individually. What you are checking for is not the color but the edges: cracks running out from screw holes, raised grain, or a soft, dark end where water has entered the core. A board that has cracked across the middle or lifted at one edge is a tripping hazard, and it also funnels rain into the substructure. Mark it now and replace it in the repair step below.
Push on the Railings and Stairs
Railings and stairs are the two areas where a manual test works better than a visual one. Put moderate pressure against the top rail and then rock the railing outward. Any movement that feels loose usually means the post base has started to corrode or the fasteners have pulled. Check stair stringers where they meet the joists, and check the flashing at the house side. Wood that feels spongy or blackened near the bottom of a post should be replaced without waiting for the next season.
Look for Moisture Traps at Ground Level
Get down to the ground and inspect the area below the deck. Poor ventilation is the most common cause of premature framing failure, and it is almost always caused by soil, plants, or stored materials blocking the air path. Clear the drainage line, make sure the soil slopes away from the posts, and open up any vents that are covered by mulch. The cheapest safety improvement on a deck is a dry, air-moving space underneath it.
Clean, Seal, and Repair
Only after the structure passes inspection should you move to surface care. Cleaning matters for safety, not just appearance, because algae and wet leaves turn any deck into a slip hazard.
Remove Debris and Biological Growth
Use a plastic scraper instead of a metal one, which can leave marks on the finish. Sweep the cracks between boards, then rinse with a garden hose. In shaded north-facing areas, treat moss and algae with a mild detergent or anti-mildew wash, wait about ten minutes, and rinse thoroughly. Pressure washing works, but keep the nozzle at low pressure and hold it above the surface, not straight into the board gaps. On composite decking, too much pressure can rough up the embossed texture and make the deck look older than it is.
Wood Decks Need Sealing on a Schedule
Solid wood and pressure-treated decks require a new coat of sealer or penetrating stain every one to three years. The water test is simple: drop a few drops of water on the surface. If it beads up, the treatment is still working. If the water spreads and darkens the wood, the deck is ready to sand and re-seal. Use a translucent penetrating stain rather than a film-forming paint if you want the wood texture to stay readable.
Fix Boards Instead of Patching Them
If your inspection found cracked or warped boards, remove the fasteners and pry the board up from one end. Clean the groove and check that the joists underneath are dry; replace the board with the correct expansion gap and re-drive the screws at the same spacing as the rest of the row. For composite boards, match the color and texture as closely as you can, and insert a shim to hold the gap while the fixings are tightened. A straight, even seam will handle years of seasonal movement without splitting.
Wood vs. Composite Deck Maintenance
If you are comparing materials, the maintenance difference is usually the deciding factor. Wood has the grain and warmth that many people want, but it asks for sanding and sealing more often than any composite product. Composite decking avoids those steps, yet it is not maintenance-free; it still needs cleaning, fastener checks, and attention to shading between boards. The trade-offs are laid out side by side in our decking material comparison guide our decking material comparison guide. The table below summarizes how the same tasks differ between the two main choices.
| Maintenance task | Wood deck | WPC composite deck |
|---|---|---|
| Cleaning frequency | Oxidation and splinters require scrubbing with a deck wash and a brush several times a year. | Soap, water, and a soft brush every few months are usually enough. |
| Sealing or staining | Required every 1–3 years; skipping it accelerates decay. | Not required; the shell is designed to withstand UV exposure. |
| Surface defects | Cracks, splinters, and raised grain appear along the wood fibers. | Low risk of splinters, but scratches and dents may appear with heavy use. |
| Fastener movement | Expansion and contraction push screws and nails up regularly. | Lower board movement means fewer popped fasteners, but clip quality still matters. |
| Replacement | Cut, sand, and seal the new board to protect its bare wood. | Replace with matched color and adjust the expansion gap; no sealing required. |
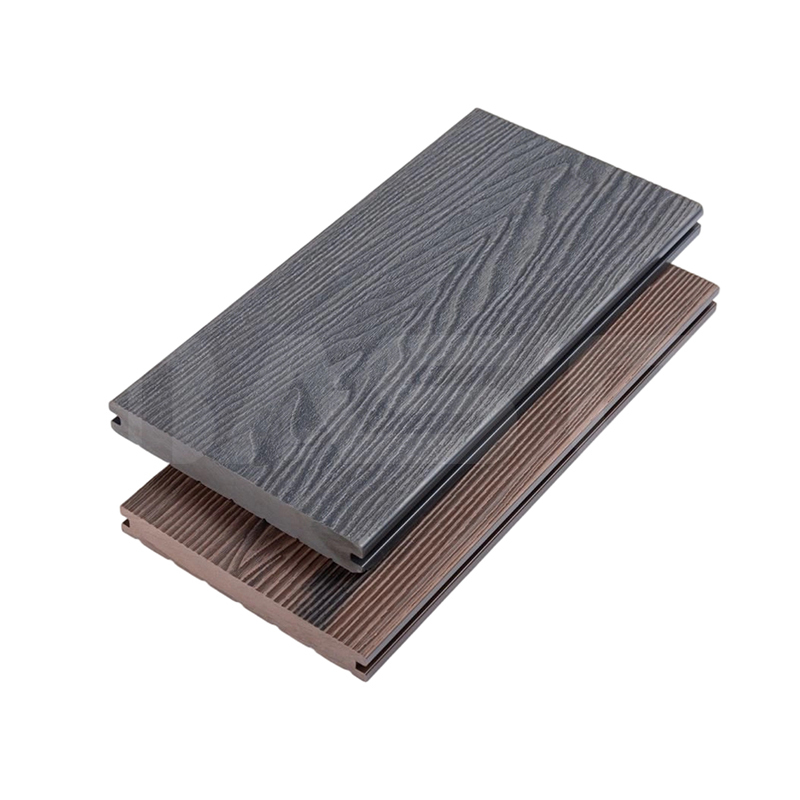
New construction also sets the maintenance level. Even a high-quality board will fail early if the joists are uneven or the panels are installed with the wrong gap. The layout process is covered in detail in our step-by-step guide on how to build a composite deck step-by-step guide on how to build a composite deck. For boards exposed to direct sun and heavy rain, a co-extruded surface adds another layer of protection because the shell wraps the wood-fiber core and blocks moisture. If the deck faces weather from multiple sides, co-extruded composite decking is worth reviewing before you commit to a spec.
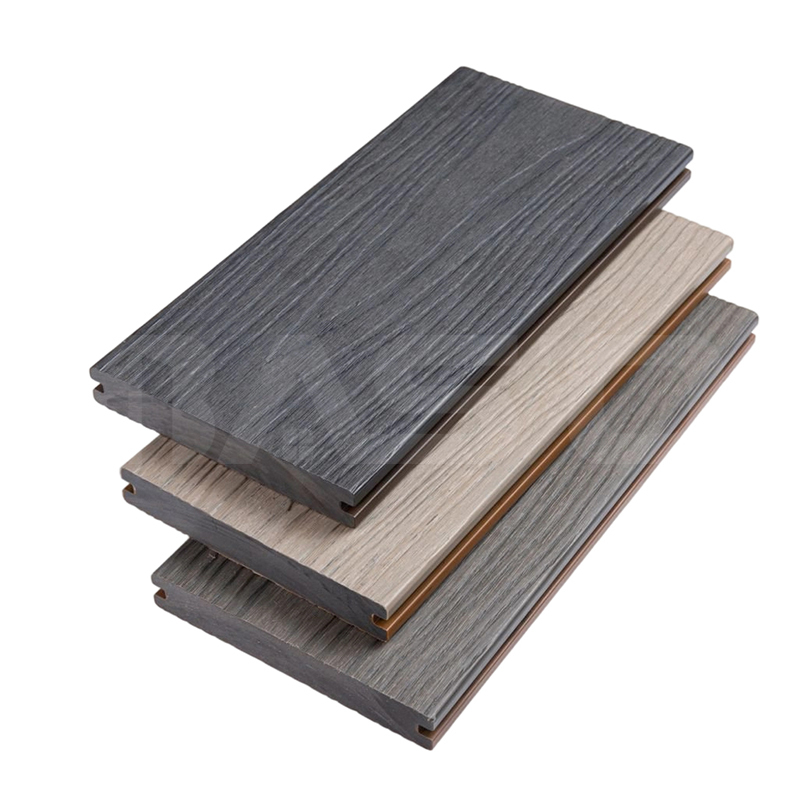 Suppliers of Co-Extrusion Composite Decking Solid Board 140mm x 23mm, wholesale Baosheng is Co-Extrusion Composite Decking Solid Board 140mm x 23mm Supplier and Company in China, Wholesale Co-Extrusion Composite Decki...View Product →
Put the Checklist on a Smart Schedule
Small calendar reminders are easier to follow than one annual deep-clean project. Based on the tasks above, set up three frequencies and keep half an hour to two hours available for each one.
Every One to Two Months
- Sweep or blow leaves, needles, and sand off the surface and out of the gaps.
- Check the boards you know were stained or replaced last season—they move first.
- Shift a few planters so the surface underneath gets a chance to dry.
- Tighten any fastener that has worked loose and verify it holds the board firmly.
Twice a Year
- Wash the entire deck with mild detergent and a soft brush, then rinse.
- Test the wood seal with the water-drop method and note which areas need resealing.
- Rock the railings and check stair stringers for movement.
- Replace any fasteners that have rusted or stripped.
- Trim vegetation so it stays at least a hand-width away from the substructure.
Once a Year or As Needed
- Replace cracked or severely worn boards.
- Swap worn clips and rounded screw heads in heavy-traffic areas.
- Inspect the post bases, flashing, and ventilation gaps at ground level.
- Re-seal wood edges and areas exposed to pooling snow or rain.
The Material Choice Sets the Length of the Checklist
From the factory side, the most common maintenance complaint is not an installation mistake but a mismatch between the decking material and the owner's maintenance budget. When people say they want low maintenance, they do not mean zero care—they mean a list short enough to finish in an afternoon with basic tools. That is where product structure helps most.
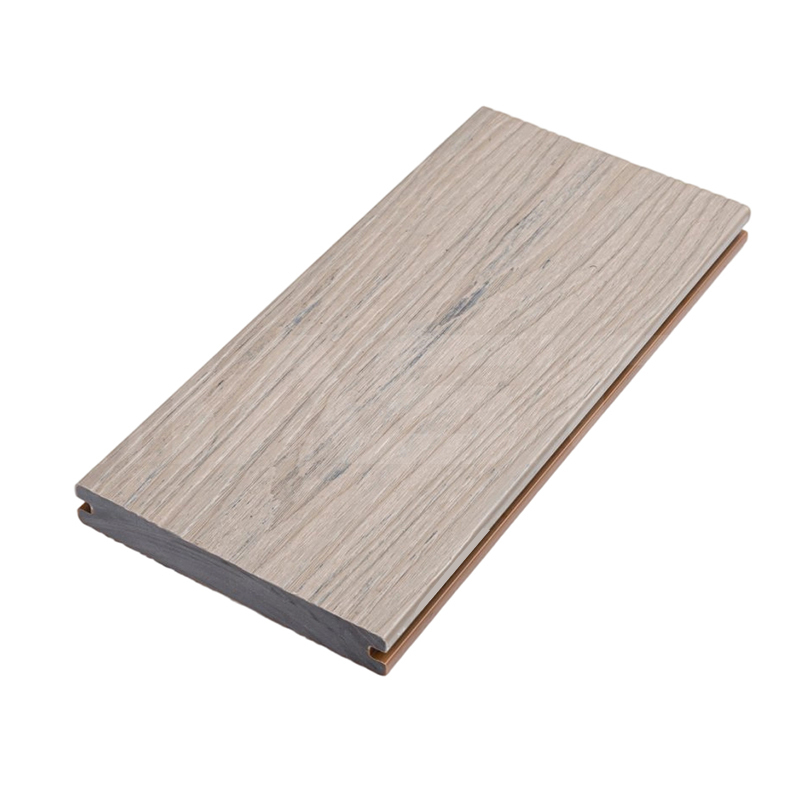
For a backyard deck that needs to stay presentable without seasonal sanding, a hollow-core option balances lighter weight with long-term stability. Because the boards are fixed with hidden clips, removing a panel for access is easier than with glued and nailed timber; every cleaning becomes a chance to inspect the clips themselves. That is why classic hollow composite decking keeps the maintenance workload visible and simple.
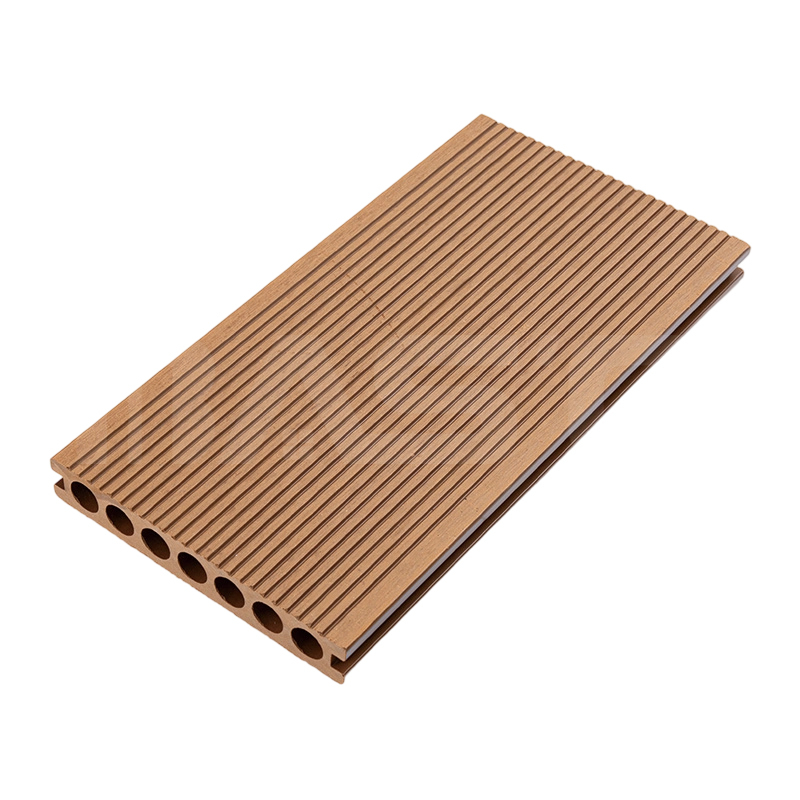 Suppliers of Corrosion Resistant Insect Resistant Low Maintenance Hidden Clip SyBaosheng is Corrosion Resistant Insect Resistant Low Maintenance Hidden Clip System Classic Composite Decking Board 150mm x 23mm Supplier...View Product →
The final step is straightforward: fasten the structure first, then seal wood surfaces, keep composite boards clean, and replace whatever is already failing. If you work through the deck maintenance checklist in that order, the problems stay where you can see them—on the panels and connections—instead of hiding inside a frame that is too expensive to repair later.
Our News //
Related News
-
Email: [email protected]
Email: [email protected] -
Tel: +86 13732382108
Tel: +86 18705821696 -
 BLDG#1, LONGOUANWU ECO-INDUSTRIALPARK, MIAOXITOWN, WUXINGDISTRICT. HUZHOU. CHINA

Quick Links
Products Center
Copyright © 2025 Huzhou Baosheng New Material Co., Ltd.All Rights Reserved. Composite Decking Manufacturers Composite Cladding Factory
