
 Español
How to Picture Frame Composite Decking: Blocking, Cutting & Fastening Guide
News-Content
- 1 What a Picture Frame Deck Actually Requires
- 2 Choose the Right Composite Board for the Frame
- 3 Blocking and Substructure: Support the Frame Before You Cut
- 4 Cutting the Miters: Precision Is Not Optional
- 5 Fastening the Frame: Hidden Clips Beat Visible Screws
- 6 Bullnose Profiles and Perimeter Details
- 7 Three Mistakes That Sink Picture Frame Decks
The most common mistake when installing a composite decking picture frame is treating it like a wood picture frame. Composite boards expand more with temperature, they cut differently, and they need a different fastening plan. Done correctly, the frame stays square and tight for years. Done carelessly, the mitered corners open up, the edge boards lift, and the border is the first thing to fail. The solution is straightforward: choose the right composite boards, support the perimeter properly, and use hidden fasteners designed for thermal movement.
This guide covers the decisions that matter before you make the first cut, whether you are a contractor pricing a custom deck or a homeowner finishing a new build. If you are still at the framing stage, start with our complete composite deck building guide and come back here when the substructure is ready.
What a Picture Frame Deck Actually Requires
A picture frame deck sets a continuous border of boards around the perimeter, with mitered corners at 45 degrees and the field boards laid inside. The border hides the raw cut ends of the interior boards, and that matters more with composite than with wood: many standard WPC boards show a wood-fiber core when end-cut, and the frame is what keeps that out of sight.
There are two basic layouts. A single picture frame uses one row of perimeter boards. A double picture frame uses two rows, which adds a visual step and suits larger decks.
| Consideration | Single picture frame | Double picture frame |
|---|---|---|
| Perimeter boards | One row of decking | Two rows of decking |
| Visual effect | Clean, minimal border | Bolder border with layered look |
| Blocking needed | Support under outer board edges and miters | Support under both rows and each miter |
| Best suited for | Porches, small decks, tight budgets | Large decks, entry decks, prominent perimeters |
Whichever layout you choose, the planning decision that determines success is the board itself. A picture frame cannot be better than the material at its corners.
Choose the Right Composite Board for the Frame
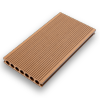
For the perimeter boards, the safest choice is co-extrusion decking. The capped layer wraps all four sides, so a miter cut shows the same finish as the top surface. With classic WPC boards, the cut face exposes the wood-fiber interior, which looks lighter and rougher than the face and catches sunlight at every corner. A co-extrusion composite decking solid board also has a denser, more uniform core, which helps the miter hold its edge during cutting and fastening.
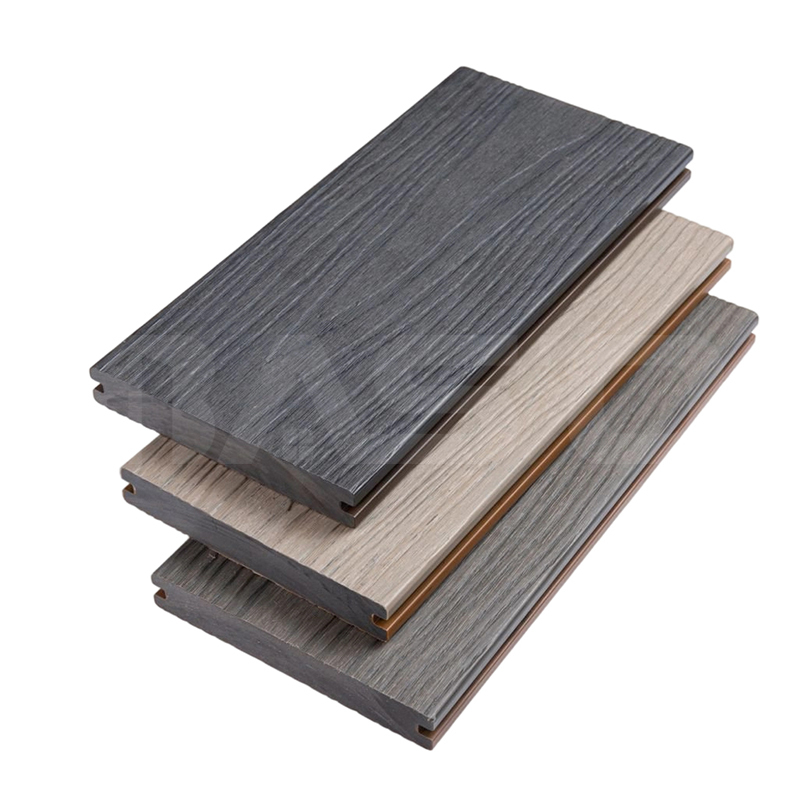 Suppliers of Co-Extrusion Composite Decking Solid Board 140mm x 23mm, wholesale Baosheng is Co-Extrusion Composite Decking Solid Board 140mm x 23mm Supplier and Company in China, Wholesale Co-Extrusion Composite Decki...View Product →
Board width consistency is the detail most installers miss. If the frame boards come from different production batches, a fraction of a millimeter in width becomes visible at the miter. Order all frame boards together and confirm the width tolerance with your supplier before you cut.
Surface texture and embossing direction
Deep embossed decking works well in a frame because the texture masks minor surface marks, but the embossing runs in a fixed direction. When a frame board turns a corner, the texture direction changes with it. Some designs use this deliberately as part of the border look; others find it distracting. If you want the texture to read in one direction around the perimeter, plan the board layout before cutting. The practical trade-offs are covered in our comparison of deep embossed vs standard surface decking.
Blocking and Substructure: Support the Frame Before You Cut
The perimeter frame needs support under the full width of every edge board. With standard joist spacing, the inner edge of an outer board often runs between joists, so that edge floats unsupported. That is why picture-frame installs add blocking or a second support joist along the frame path before any decking goes down.
Corner support is even more important. At a 45-degree miter, the two frame boards meet in mid-air unless there is a block directly under the joint. Without it, you cannot fasten close to the miter without the board flexing, and the corner will open after a few seasons of temperature cycling.
Plan the substructure at the same time as the frame layout. This is where a complete decking accessories package for clips, joists, and edge trim pays for itself, because you can match the frame support to the fastening system rather than improvising on site.
Cutting the Miters: Precision Is Not Optional
Blade choice and cutting sequence
Composite boards need a clean, sharp blade. A miter saw with a carbide-tipped blade of at least 60 teeth produces a smooth cut; a coarse blade drags the material and leaves a frayed edge at the miter. Cut each corner slightly long and trim down to the fit. Deck framing is rarely a perfect rectangle, so measure each corner individually rather than cutting all four miters from the same setting.
Leave room for expansion
Thermal expansion changes how the miter must fit. Composite boards move noticeably between a cold morning and a hot afternoon. Leave a small, consistent gap at the miter, matching the manufacturer's recommended end gap, and avoid forcing the two miter faces tight against each other. In summer heat, boards expand, and a forced-tight miter will push upward, lifting the corner.
Install the frame boards first, then cut the field boards to fit inside. This sequence gives you something to measure against and keeps the frame joints accessible while you fasten. If a board must be notched around a post or stair stringer, use a jigsaw and cut from the back side of the board to minimize edge tear-out.
Fastening the Frame: Hidden Clips Beat Visible Screws
Visible screws are the quickest way to ruin a picture frame. Every screw hole on a miter corner catches the eye, and on a border that is meant to look continuous, that defeats the purpose. Hidden fasteners are the standard for composite picture framing because they hold the board edges while letting the material move.
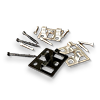
A concealed plastic decking clip system works by anchoring each board edge to the joist or block below, with the clip flange covering the gap. Starter clips anchor the first frame board, then the next board slides onto the exposed clip flange, so the frame is secured from underneath with no visible hardware.
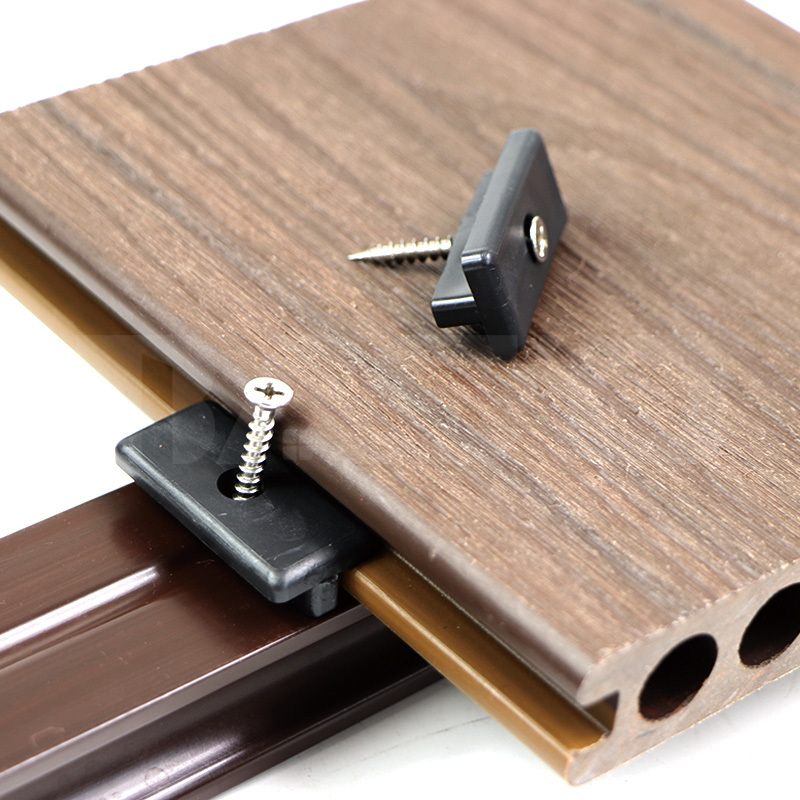 Suppliers of Concealed Clip System PP Plastic Decking Clips, wholesale Company -Baosheng is Concealed Clip System PP Plastic Decking Clips Supplier and Company in China, Wholesale Concealed Clip System PP Plastic Deck...View Product →
Fasten the outer frame boards first, then the inner frame rows, and finish with the field. At the miter itself, install a clip or screw-and-plug as close to the joint as the board width allows, and make sure the support block underneath is positioned so the fastener bites into solid framing. If you are ordering a full system, the fastening hardware and the decking edge trim should be specified together so the frame thickness, clip height, and trim profiles all match.
Bullnose Profiles and Perimeter Details
The outermost frame board often needs a finished edge, especially on a step or a low deck where the side of the board is visible. A bullnose decking profile rounds the top edge and gives the border a softer, more deliberate look. Because frame boards carry the most traffic on steps, a rounded edge also resists wear better than a sharp square edge.
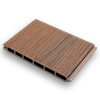
When the border meets a wall, stair, or fascia transition, the frame is where most installers add an edge trim or transition cap. A bullnose co-extrusion decking board keeps the co-extruded cap on the exposed edge, so the rounded surface stays color-stable and needs no painting or sealing. Match the profile to the rest of the frame boards and keep the same expansion gap at the ends.
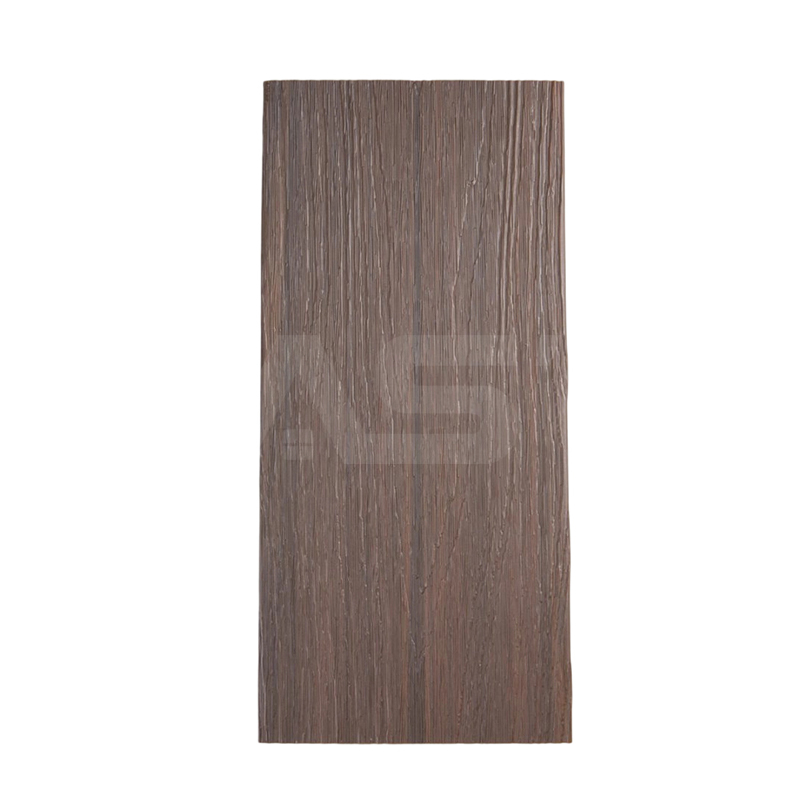 Suppliers of Bullnose Co-Extrusion Decking 138mm x 23mm, wholesale Company - HuBaosheng is Bullnose Co-Extrusion Decking 138mm x 23mm Supplier and Company in China, Wholesale Bullnose Co-Extrusion Decking 138mm x 2...View Product →
Three Mistakes That Sink Picture Frame Decks
Most picture frame failures share the same causes. Avoiding them is a matter of process, not skill:
- Skipping blocking under the miter. Without a block under the joint, the corner has nothing to bite into, and fasteners pull the boards out of plane over time.
- Tight miters with no expansion gap. Boards push against each other in heat and lift at the corner. Leave the manufacturer's recommended end gap at every miter.
- Mixing board batches or using a rough blade. Width differences and frayed edges become obvious along the frame line.
A picture frame changes how a composite deck reads. It hides cut ends, gives the perimeter a clean line, and turns an assembled surface into a designed one. The work is in the preparation: a proper substructure, a board profile with a capped edge, and hidden fasteners that let the composite move. Get those three things right, and the frame will look as good in its tenth year as it does on the day it is completed.
Our News //
Related News
-
Email: [email protected]
Email: [email protected] -
Tel: +86 13732382108
Tel: +86 18705821696 -
 BLDG#1, LONGOUANWU ECO-INDUSTRIALPARK, MIAOXITOWN, WUXINGDISTRICT. HUZHOU. CHINA

Quick Links
Products Center
Copyright © 2025 Huzhou Baosheng New Material Co., Ltd.All Rights Reserved. Composite Decking Manufacturers Composite Cladding Factory
