
 Español
Decking Accessories Guide: Clips, Joists, Edge Trim | BASO
News-Content
- 1 Decking accessories are what turn “boards on joists” into a finished deck
- 2 Hidden clips and starter clips: clean surfaces without sacrificing movement control
- 3 Joist systems and subframes: the foundation for flatness, drainage, and noise control
- 4 Edge trim and banding: the finishing line that protects exposed edges
- 5 Accessory quantity planning: simple numbers that prevent shortages and delays
- 6 How we help buyers reduce risk: compatibility checks, packaging discipline, and QC focus
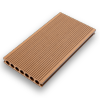
Decking accessories are what turn “boards on joists” into a finished deck
When a deck looks great on day one but starts to squeak, shift, or show messy edges after a season, the cause is usually not the board—it’s the decking accessories and how they were specified. As a manufacturer and supplier, we treat accessories as structural components, not “extras,” because they directly control alignment, movement, drainage, and edge protection.
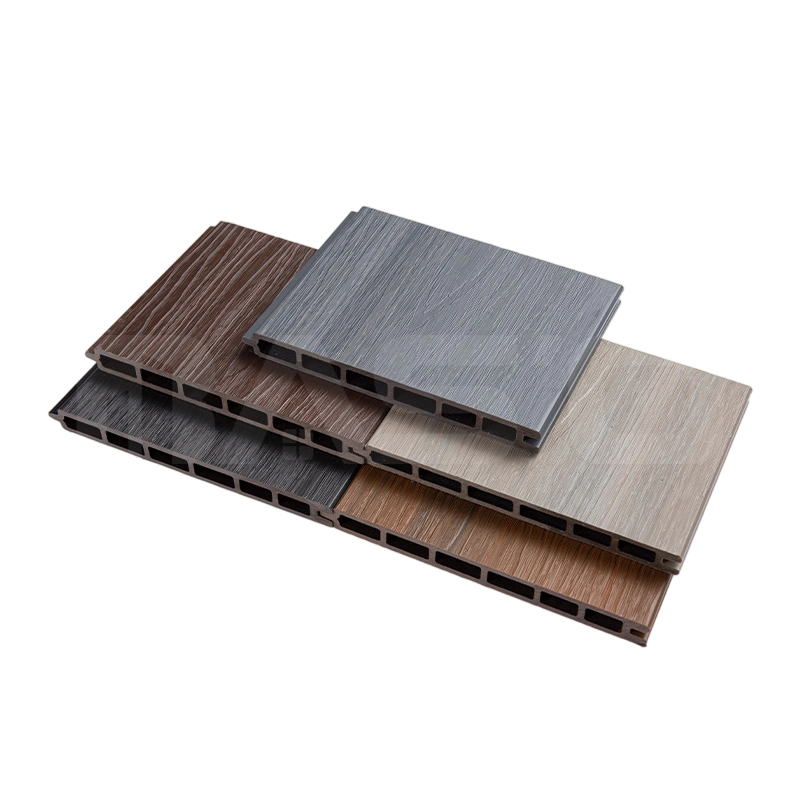
If you want a quick overview of what we produce in one place, visit our Decking Accessories page. We supply concealed clip systems (polymer and stainless options), starter clips, joist systems, edge trim/edge banding, and related components designed to work together as a complete installation set.
The 4 outcomes accessories must deliver
- Consistent board spacing that stays uniform after temperature swings
- A stable subframe that resists bounce, twist, and fastener pull-out
- Clean edges (no exposed cores, ragged cuts, or moisture-wicking ends)
- Faster installation with fewer call-backs for loose boards or noise
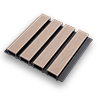
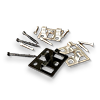
Hidden clips and starter clips: clean surfaces without sacrificing movement control
Hidden fastening is popular for a reason: customers want a smooth walking surface with no visible screw heads. But performance depends on two things—clip quality and clip layout. In our production and project guidance, we typically see the best results when clips are installed at a consistent rate along the joists, and when the starting edge is locked with dedicated starter clips.
For customers comparing clip options and finishes, we summarize our categories on our Decking Fasteners page. It’s a useful reference when you’re deciding between polymer clips and metal clips, or planning for poolside/coastal conditions.
Practical spacing that prevents warping and uneven gaps
A common, field-proven approach is to place clips at every board-to-joist intersection and keep the spacing uniform. For many composite deck builds, a reliable guideline is to position clips every 40–50 cm along each joist line. This helps boards stay aligned and reduces the risk of “walking gaps” (gaps that widen in some areas and tighten in others).
Where conditions are harsher (high UV, salt air, pool chemicals), the fastening material matters as much as the layout. Choosing the wrong clip material is one of the fastest ways to shorten service life.
| Fastener option | Best-fit environments | Why customers choose it | What to watch |
|---|---|---|---|
| Stainless steel clips | Coastal, poolside, high humidity, commercial traffic | Strong hold + corrosion resistance for long-term stability | Confirm grade and compatibility with board groove profile |
| Galvanized steel clips | General outdoor residential and light commercial | Balanced cost and strength for standard projects | Coating quality is critical in wet/salty zones |
| Reinforced polymer / PP clips | Low-corrosion settings, fast installs, DIY-friendly builds | Non-corrosive + quick handling for clean finishes | Verify UV stability and load behavior for high-traffic decks |
Selection checklist we use with buyers
- Board profile: grooved vs. solid, and the groove dimensions (this determines clip geometry)
- Exposure: salt air, pool chemicals, freeze–thaw cycles, and direct sun hours
- Traffic level: residential patio vs. café terrace vs. public walkway
- Target finish: seamless hidden fastening, picture framing, or mixed methods for stairs/edges
Joist systems and subframes: the foundation for flatness, drainage, and noise control
In real installations, the subframe is where most “mystery problems” come from: bounce, uneven gaps, pooling water, and fasteners that loosen. That’s why we supply joist options as part of our decking accessories lineup—so customers can match the support structure to the deck’s load and layout.
If you’re sourcing a complete support package, review our Joist System page to see how we group joist components for common applications (raised decks, balcony frames, terraces, and mixed-material builds).
Joist spacing: why “a little wider” becomes a big problem later
A practical starting point for many composite deck designs is keeping joist centers in the 300–400 mm range, adjusted for board type, thickness, and usage. Wider centers can save time at installation, but the trade-off is more deflection underfoot and more stress on clips and screws—especially near board ends and high-traffic paths.
| Project condition | Typical joist center target | Reason |
|---|---|---|
| Standard residential patio | ~400 mm | Comfortable feel underfoot with efficient framing |
| High-traffic routes / commercial seating | ~300 mm | Reduces bounce and clip stress over time |
| Diagonal board layouts | ~300 mm | More intersections per board; prevents localized flex |
| Board ends, seams, and stair transitions | Add blocking | Keeps edges tight and avoids “seam lift” |
Three build details that protect your investment
- Leveling first: correct the joist plane before fastening boards—clips cannot “fix” an uneven frame
- Drainage management: allow consistent airflow under the deck to reduce moisture retention
- Noise control: tight intersections and stable supports reduce squeaks far more than over-tightening clips
If you’re pairing accessories with boards, it helps to review the board type and profile at the same time—see our Decking Series page for the common decking constructions we support with matching accessories.
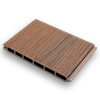
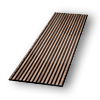
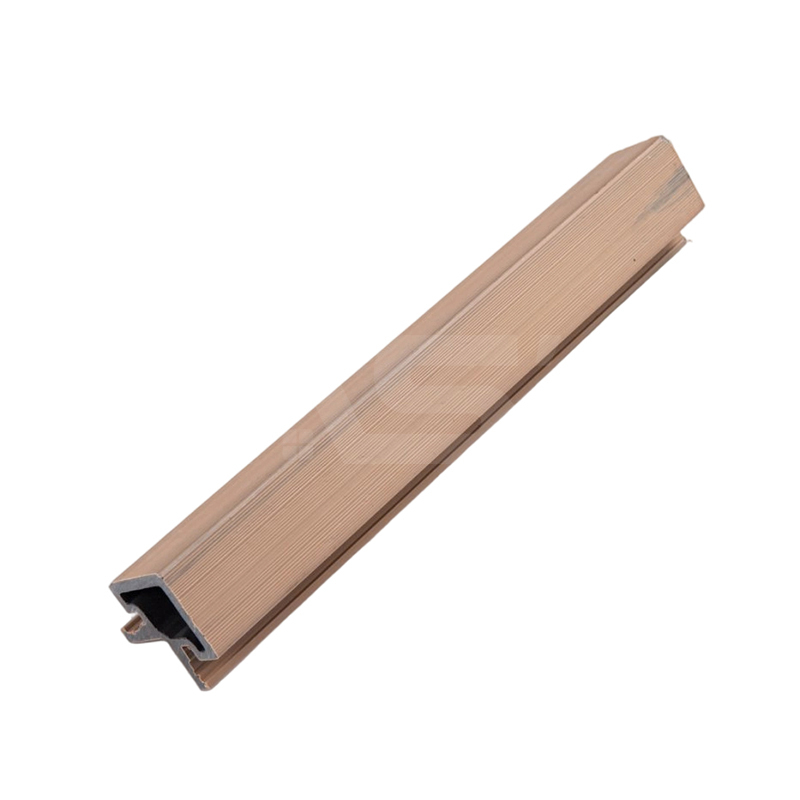
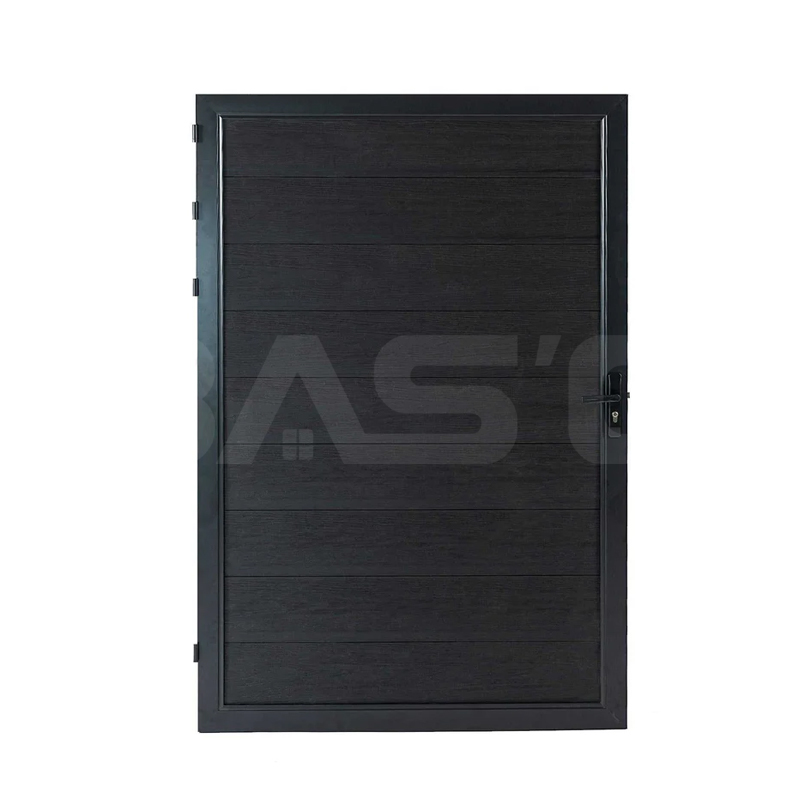
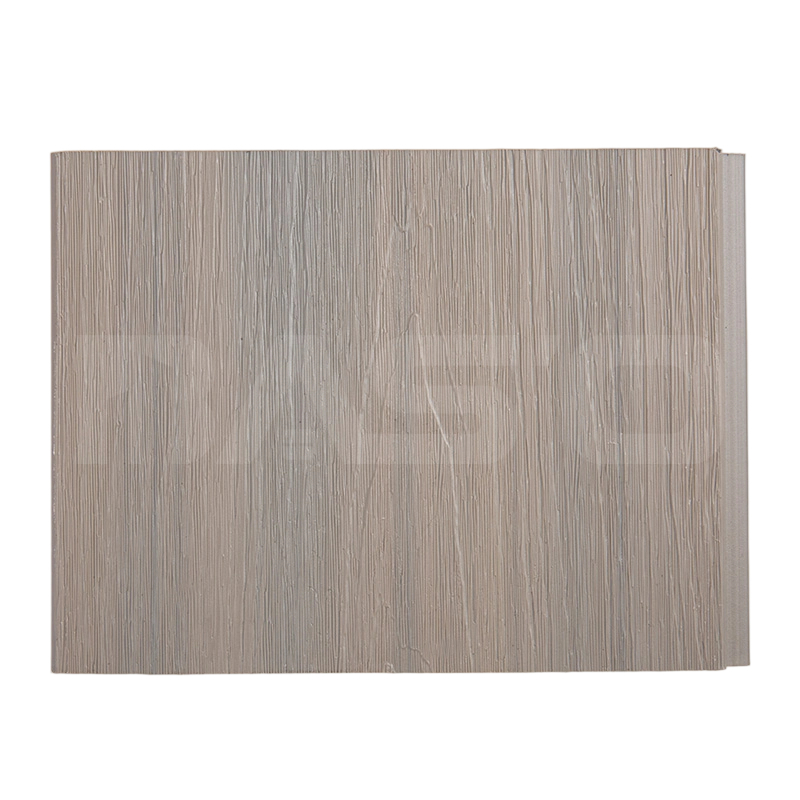
Edge trim and banding: the finishing line that protects exposed edges
Edges are where customers judge quality. Even a premium deck can look unfinished if exposed ends are visible, corners don’t align, or fascia lines wave. That’s why edge trims and edge banding are core decking accessories—not decorative add-ons.
For typical finishing approaches (covering exposed ends, protecting edges, and creating consistent borders), you can reference our Decking Edge Trim page. We produce trims intended to match decking color and texture so the final perimeter looks intentional—not patched.
Where edge trim delivers the most value
- Perimeter fascia: hides subframe and creates a straight, clean visual boundary
- Board ends and picture framing: protects cut ends and improves line quality around corners
- Stair faces and landings: reduces edge chipping and improves safety perception
- Transitions to cladding or tile: keeps a consistent finish when surfaces meet
Installation tips we give contractors to avoid rework
- Keep expansion gaps consistent at corners and against walls; trimming too tight is a common cause of buckling
- Pre-drill where required near edges to reduce stress cracking and keep fasteners straight
- Use straight reference lines (string line/chalk line) for fascia runs; small deviations become obvious over distance
Accessory quantity planning: simple numbers that prevent shortages and delays
Many decking accessory orders fail for one reason: quantities are guessed. That can stall a project mid-install (missing clips or starter clips), or inflate cost (over-ordering trims that can’t be returned internationally). The solution is a basic bill-of-materials approach.
Rule-of-thumb counts you can use for early budgeting
For grooved boards installed with hidden clips, a practical budgeting range is ~17–22 clips per m² depending on board width and joist centers (tighter joist spacing increases clip count). Final numbers should be confirmed with your exact drawing, but this range is reliable for early-stage estimation.
| Accessory | Early estimate method | What it controls |
|---|---|---|
| Hidden clips | ~17–22 pcs per m² (varies by joist centers & board width) | Board spacing + movement control |
| Starter clips | Approx. one per joist at the starting edge | Locks the first board line to prevent creep |
| Joists / subframe members | Deck width ÷ joist centers + perimeter framing | Flatness, bounce control, load distribution |
| Edge trim / fascia | Total exposed perimeter length + stairs/returns | Edge protection + finished appearance |
A simple estimating workflow (what we ask customers to provide)
- Deck dimensions (overall length/width, stair count, and any cut-outs around posts)
- Board direction and board profile (grooved vs. solid; groove spec if using hidden clips)
- Target joist centers (e.g., ~300 or ~400 mm depending on usage)
- Finishing plan: fascia perimeter, picture frame border, and edge/step details
- Exposure conditions (coastal/pool/industrial pollutants) to confirm clip material choice
Once we have these inputs, we can help convert them into an efficient accessory list that reduces surprises during installation.
How we help buyers reduce risk: compatibility checks, packaging discipline, and QC focus
From a manufacturing standpoint, the biggest risks in decking accessories are mismatch and inconsistency: a clip that doesn’t sit correctly in the groove, a tolerance stack that creates uneven gaps, or an edge trim that doesn’t visually match the board family. We reduce these risks by treating accessories as part of a unified system—especially when customers source boards and accessories together.
If you are building a complete package, using our Decking Series page alongside our Decking Accessories page helps you align board profile, clip type, and finishing parts from the start.
Quality checkpoints we recommend for any supplier
- Material verification: confirm metal grade/coating or polymer formulation suited to the jobsite environment
- Dimensional consistency: accessory tolerances should support uniform spacing across the entire deck
- Compatibility test: clips should seat cleanly in the groove without forcing or deformation
- Packaging and labeling: avoid mixed lots and simplify on-site counting to prevent install delays
If you want us to review your drawings and recommend a matched accessory set, send your deck layout and target installation method through our Contact page. We’ll respond with a practical, build-ready accessory list rather than generic recommendations.
Our News //
Related News

-
Email: [email protected]
Email: [email protected] -
Tel: +86 13732382108
Tel: +86 18705821696 -
 BLDG#1, LONGOUANWU ECO-INDUSTRIALPARK, MIAOXITOWN, WUXINGDISTRICT. HUZHOU. CHINA
Quick Links
Products Center
Copyright © 2025 Huzhou Baosheng New Material Co., Ltd.All Rights Reserved. Composite Decking Manufacturers Composite Cladding Factory
