
 Español
How to Build a Composite Deck: Complete Step-by-Step Guide
News-Content
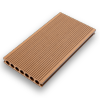
Building a composite deck involves creating a proper foundation, constructing a level frame, and installing composite boards with manufacturer-specified fasteners and spacing. Unlike traditional wood decks, composite materials require specific expansion gaps (typically 1/4 inch) and hidden fastening systems to accommodate thermal expansion and achieve a seamless appearance. Most DIYers complete a 12×16 foot deck in 3-5 days, with costs ranging from $4,500-7,500 for materials.
Planning and Design Considerations
Successful deck construction begins with thorough planning. Composite decking offers advantages over wood—no staining, minimal maintenance, and 25-30 year lifespans—but demands precise installation to prevent warping, gapping, or voiding warranties.
Essential Pre-Construction Checklist
- Check local building codes: Most jurisdictions require permits for decks over 30 inches high or attached to structures; permit costs typically run $150-400
- Call utility locating services: Contact 811 at least 3 business days before digging to mark underground lines—this free service prevents costly damage
- Determine frost line depth: Footer holes must extend below frost depth (12-48 inches depending on region) to prevent heaving
- Select composite brand: Popular options include Trex ($7-11/sq ft), TimberTech ($8-12/sq ft), and Fiberon ($6-10/sq ft)—compare warranty terms and color availability
- Calculate joist spacing: Composite boards require 16-inch on-center joists for most brands (versus 24 inches for wood) due to flexibility—verify with manufacturer specifications
For a standard 12×16 foot deck, you'll need approximately 192 square feet of decking material. Add 10% for waste, bringing the total to 210-215 square feet. Budget $1,400-2,300 for decking boards alone.
A level, stable foundation prevents future settling and structural issues. Composite decks use the same footer system as wood decks but demand greater precision in leveling.
Materials for Foundation (12×16 deck)
- Six 8-inch diameter concrete tube forms, 48 inches long ($8-12 each)
- Six post bases with adjustable brackets ($15-25 each)
- Twelve 80-lb bags of concrete mix ($5-6 each)
- Gravel for drainage (1-2 cubic yards at $30-50/yard)
- Mark footer locations using mason's line and the 3-4-5 triangle method to ensure square corners. For a 12×16 deck, place footers at corners plus one mid-span position on each 16-foot side.
- Dig holes 8-10 inches in diameter, extending 6 inches below frost line. Pour 4-6 inches of gravel in each hole for drainage.
- Cut concrete tube forms to extend 2-3 inches above grade. Level tops across all locations using a laser level or water level—accuracy within 1/4 inch is critical.
- Mix and pour concrete, filling tubes completely. Insert J-bolts or post bases while concrete is wet, ensuring they're centered and vertical.
- Allow concrete to cure for 48-72 hours before proceeding with framing. In temperatures below 50°F, extend curing time to 5-7 days.
Critical detail: Use adjustable post bases rather than fixed brackets. These allow fine-tuning of beam height during framing, compensating for minor variations in footer height and simplifying the leveling process.
Frame Construction and Beam Installation
The frame carries all structural loads and must meet code requirements for beam size, joist spacing, and fastener schedules. Pressure-treated lumber remains standard for framing even under composite decking.
Framing Materials List
- Rim joists: Two 2×10 boards at 16 feet, two at 12 feet (pressure-treated)
- Floor joists: Eleven 2×10 boards at 12 feet, spaced 16 inches on-center
- Ledger board: One 2×10 at 16 feet (if attaching to house)
- Beams: Double 2×10 at 16 feet for mid-span support
- Posts: Six 4×4 pressure-treated posts, length varies by deck height
- Hardware: Joist hangers, structural screws, hurricane ties, and galvanized lag bolts
Frame Assembly Sequence
- Install ledger board to house (if applicable) using 1/2-inch lag bolts every 16 inches, maintaining 1/2-inch gap from siding for drainage. Flash thoroughly with metal or membrane to prevent water infiltration.
- Set posts in adjustable brackets, cutting to height that places beam at proper elevation. Use a 4-foot level on two adjacent faces to plumb each post before securing.
- Install double beam atop posts using carriage bolts. The beam should sit 9.25 inches below final deck surface height (accounting for 2×10 joist depth and 1-inch composite board thickness).
- Attach rim joists to ledger and beam, ensuring they're level across all dimensions. Use a string line to verify straightness on long runs.
- Install floor joists at 16-inch on-center spacing using joist hangers. Crown each joist (bow side up) and secure with appropriate hanger nails—typically 10d galvanized nails or structural screws.
- Add blocking between joists at mid-span for lateral stability, especially important for composite decking which lacks the torsional rigidity of screwed-down wood boards.
Verify the frame is level in all directions before proceeding. Out-of-level framing creates drainage problems and visible waviness in the finished composite surface.
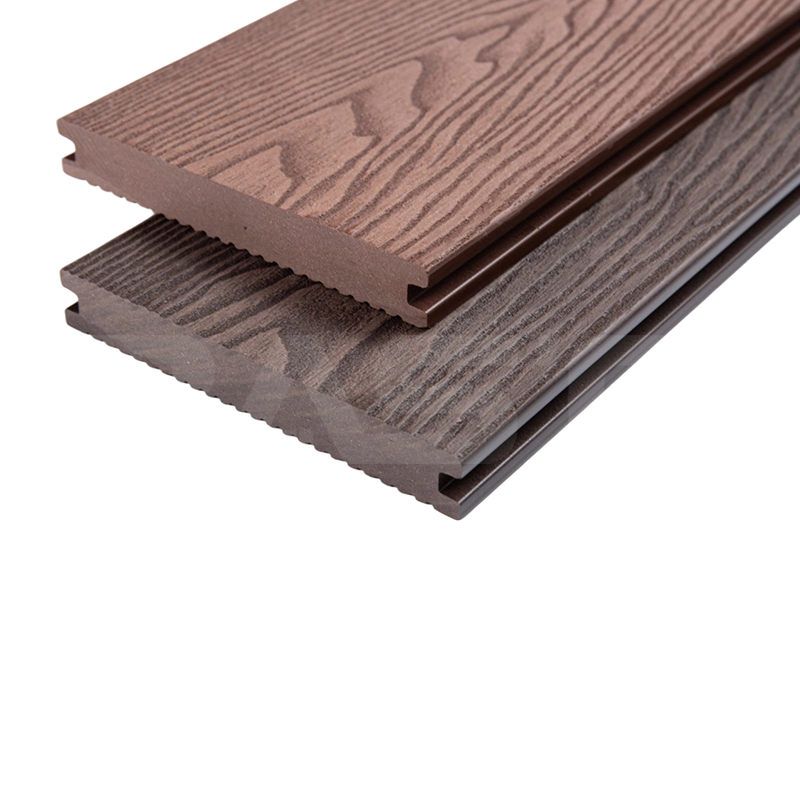
Composite Decking Installation Techniques
Composite boards expand and contract significantly with temperature changes—up to 1/4 inch per 16-foot board across a 100°F temperature swing. Proper gapping and fastening techniques prevent buckling in summer and excessive gaps in winter.
Critical Installation Parameters
| Parameter | Requirement | Reason |
|---|---|---|
| End Gap (butt joints) | 1/4 inch minimum | Length-wise expansion |
| Side Gap (board-to-board) | 3/16 inch (varies by system) | Width expansion, drainage |
| Perimeter Gap | 1/2 inch to fixed objects | Prevents buckling at rails/posts |
| Fastener Placement | 3/4-1 inch from edge | Prevents splitting |
| Installation Temperature | 40-90°F optimal | Ensures proper gap sizing |
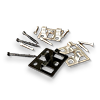
Hidden Fastener Installation Process
- Start with the straightest board against the house or at the most visible edge. Face-screw this starter board using color-matched composite screws, pre-drilling to prevent splitting.
- Install hidden fastener clips in the groove of the starter board at every joist location. Clips engage the board edge and screw into the joist simultaneously.
- Position the next board by sliding its tongue into the previous board's groove. The hidden fastener automatically creates the correct side gap (typically 3/16 inch).
- Tap boards together gently using a rubber mallet and a scrap board as a striking block. Never force boards—if resistance is excessive, check for debris in grooves or misaligned joists.
- Stagger butt joints by at least 12 inches from row to row. Always place joints over joist centers and maintain 1/4-inch end gaps.
- For the final board, you may need to rip it to width. Leave a 1/2-inch gap to the fascia or rim joist and face-screw this edge—it will be covered by the fascia board.
Expect to use 300-350 hidden fastener clips for a 192-square-foot deck. Clip systems cost $70-120 per 500-pack depending on brand. Popular systems include Trex Hideaway, Camo, and Cortex.
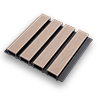
Railing, Fascia, and Finishing Details
Professional finishing details elevate a deck from functional to exceptional. Composite fascia boards hide framing and create clean edges, while proper railing installation ensures safety and code compliance.
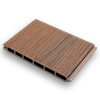
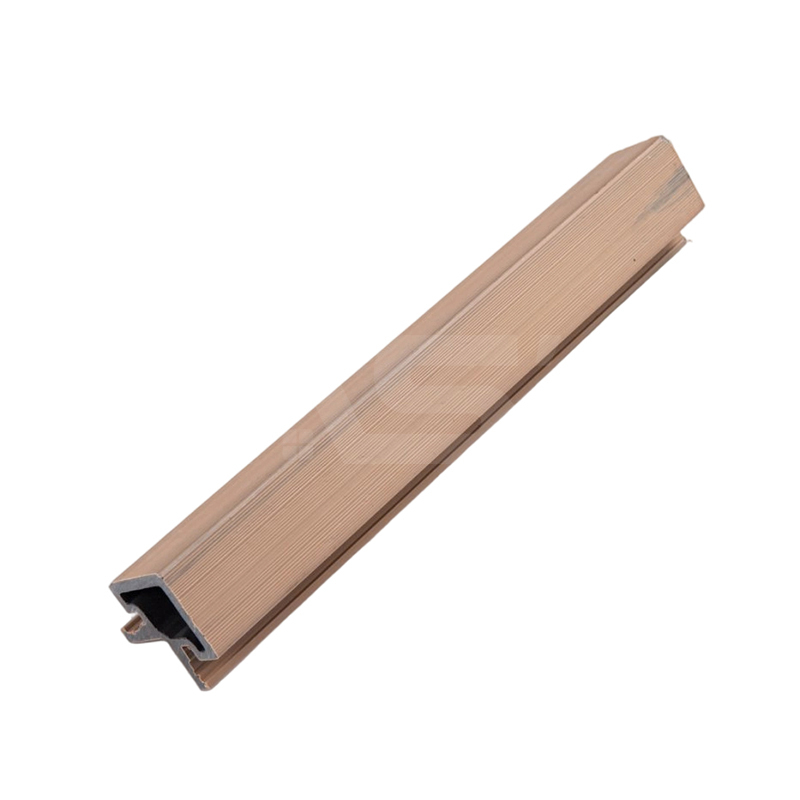
Fascia Board Installation
- Use composite fascia boards matching your decking color ($3-5 per linear foot)
- Attach fascia with color-matched screws every 16 inches, pre-drilling all holes
- Miter outside corners at 45 degrees for professional appearance
- Leave 1/8-inch gaps between fascia sections for expansion
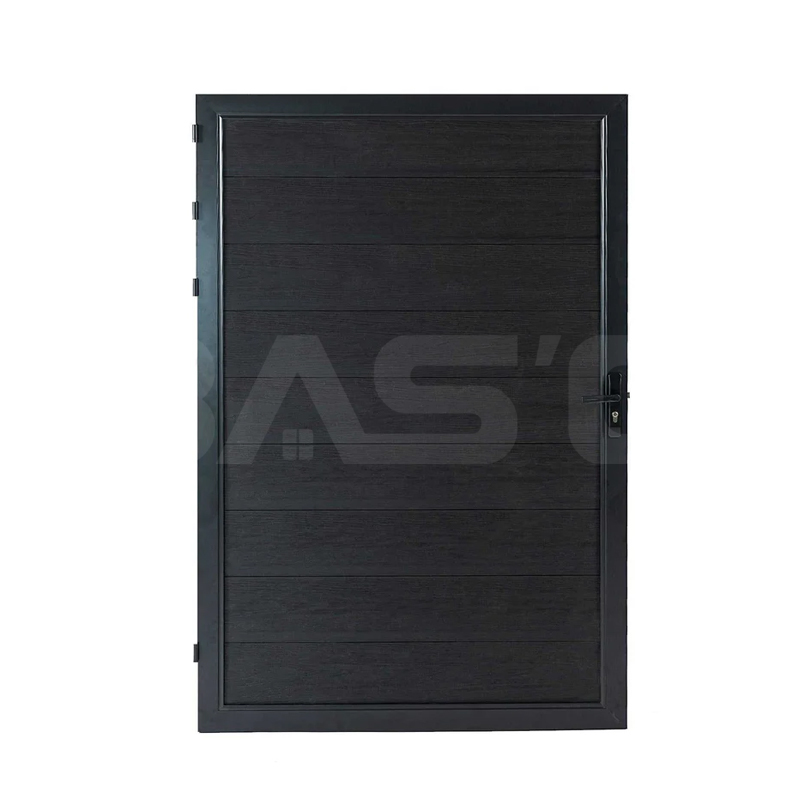
Railing Code Requirements and Installation
Most codes require railings on decks exceeding 30 inches above grade. Standard requirements include 36-42 inch height, balusters spaced no more than 4 inches apart, and the ability to withstand 200 pounds of outward force at the top rail.
- Composite railing systems cost $55-90 per linear foot installed
- Install posts at maximum 6-foot spacing, secured with blocking beneath the deck
- Many systems use concealed brackets that attach posts to rim joists without visible hardware
- Glass panel systems ($120-180/linear foot) eliminate balusters for unobstructed views
Consider adding post cap lights ($15-40 each) or under-rail LED strips ($45-80 per 16-foot section) during railing installation—retrofitting lighting requires significant disassembly.
Maintenance Requirements and Long-Term Care
Composite decking requires minimal maintenance compared to wood but isn't entirely maintenance-free. Following manufacturer recommendations preserves appearance and warranty coverage.
Annual Maintenance Schedule
- Spring cleaning: Sweep debris and wash with composite deck cleaner ($12-18 per gallon concentrate) and soft bristle brush
- Inspect fasteners and gaps: Check that expansion gaps remain open (remove debris) and tighten any loose screws
- Address stains promptly: Oil, grease, and organic stains respond best to immediate treatment with dedicated composite cleaners
- Mold and mildew: Treat shaded areas prone to growth with oxygen bleach solution (avoid chlorine bleach which can discolor composites)
Never use pressure washers above 1,500 PSI or within 8 inches of the surface—excessive pressure damages the protective cap layer and voids warranties. Hand washing or gentle power washing at 12-18 inch distance provides adequate cleaning without damage.
Our News //
Related News
-
Email: [email protected]
Email: [email protected] -
Tel: +86 13732382108
Tel: +86 18705821696 -
 BLDG#1, LONGOUANWU ECO-INDUSTRIALPARK, MIAOXITOWN, WUXINGDISTRICT. HUZHOU. CHINA
Quick Links
Products Center
Copyright © 2025 Huzhou Baosheng New Material Co., Ltd.All Rights Reserved. Composite Decking Manufacturers Composite Cladding Factory
