
 Español
Deck Board Staggering: A Practical Guide to Composite Deck Joint Placement
News-Content
Your first row of composite decking is installed, the hidden clips are locked, and the surface looks clean. Then you reach the end of the second run with a 210 mm offcut. If you start the next row with that offcut and keep following the same sequence, every end joint will line up in a straight line across the deck. That line becomes a path for standing water, a stress point for the board ends, and a visual grid that makes a professional install look unfinished.
The answer is straightforward: stagger every end joint so no two adjacent rows have joints within 300 mm of each other. Land every joint directly on a joist. Plan the full board layout before the first clip goes in. Those three rules will keep a composite deck flat, drain-ready, and free of uneven gaps for years.
Why Staggering Matters
Composite decking is not a rigid solid. It expands and contracts with temperature swings, and the movement is more visible than many people expect. When two butt joints from adjacent rows land close together, the board ends push against each other as they expand. That concentrated load can lift the board ends, loosen the clips, and create ripples that run across the surface.
From a drainage standpoint, butt joints are the weakest points because they collect water. If a line of butt joints crosses the deck, that seam stays wet longer, accelerating surface wear and increasing the chance of localized mold or staining. There is also an aesthetic factor. A regular offset pattern breaks up the joints so the eye does not read them as a grid. That simple rhythm makes the deck feel intentional rather than patched together.
| Layout Strategy | Structural Risk | Water Drainage | Visual Result | Installation Effort |
|---|---|---|---|---|
| Random butt joints | High | Poor | Uneven | Lowest |
| 300 mm offset stagger | Low | Good | Uniform | Moderate |
| Transition board layout | Lowest | Excellent | Clean | Highest |
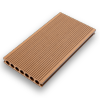
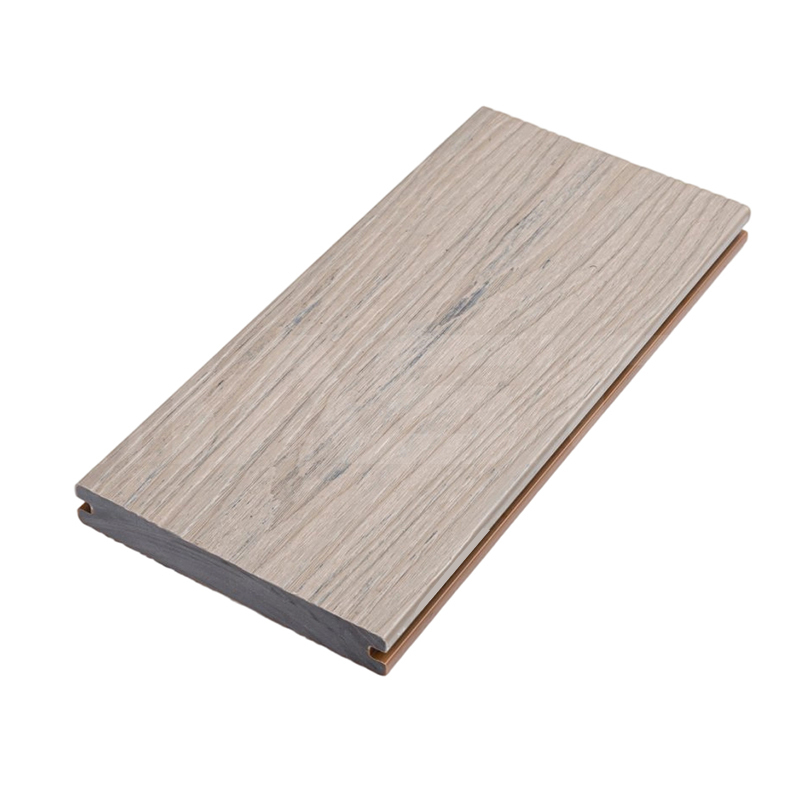
Combined with a solid core, co-extrusion decking handles moisture and movement better than standard profiles. 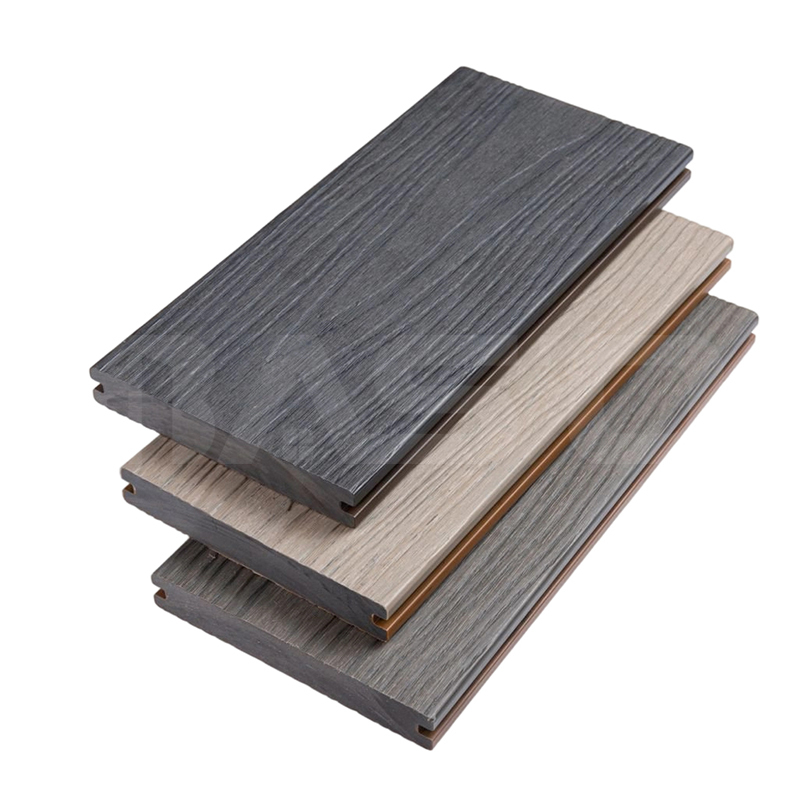 Solid Co-Extrusion Composite Decking Board 140mm x 23mm with Protective SurfaceCombining a solid core and co-extruded coating, this board resists moisture, pests, and UV fading, ensuring durable performance for long-span decks. Ideal for outdoor areas needing low maintenance.View Product →
Standard Rules for Staggering
Most composite decking manufacturers require that every butt joint be supported by a joist. The board end should sit on the full width of a joist, or at least reach the centerline. Never let a butt joint hang between two joists. That is the fastest route to a cracked or splintered board end.
The offset distance is where personal preference meets practical limits. A common rule of thumb is to keep adjacent joints at least 300 mm apart. Many professional installers prefer a one-third or one-half board length stagger. On a 3.6 m board, one-third equals 1.2 m, which gives a repeatable rhythm without wasting material.
A pre-planned layout drawing is worth more than any guesswork on site. Mark the joint locations on paper first, and use the offcuts exactly where the plan calls for them.
Step-by-Step Planning and Installation
Start with a sketch of your deck frame. Draw the joists and note the board run direction. Label each row from 1 to N. On row 1, mark the end joint location. On row 2, shift that mark by at least 300 mm. Continue shifting for all rows.
When installing, place the first board of each row using a full-length board or a planned offcut. Line the end joint up with the joist centerline, then clip it down. Use a tapping block to keep the expansion gap consistent between the two boards at each joint.
Work from the outside edge toward the house. That keeps visible board ends at the perimeter and makes the final cut less conspicuous. Trim the last board to fit, and allow the same 3-5 mm end gap recommended by the decking profile.
Do not force a board into position. If you cut a piece 3 mm too long, it will bind against the adjacent board and buckle as the surface heats up. Cut first, check twice, then clip.
For the full installation sequence, from substructure to finishing touches, refer to this complete composite deck installation guide.
Composite-Specific Considerations
Composite decking has a higher coefficient of thermal expansion than pressure-treated wood. In a 3.6 m board, you can expect several millimeters of length change over a full summer-winter cycle. That is why board ends need genuine space to move. A hidden clip system only works correctly if the end gaps are respected.
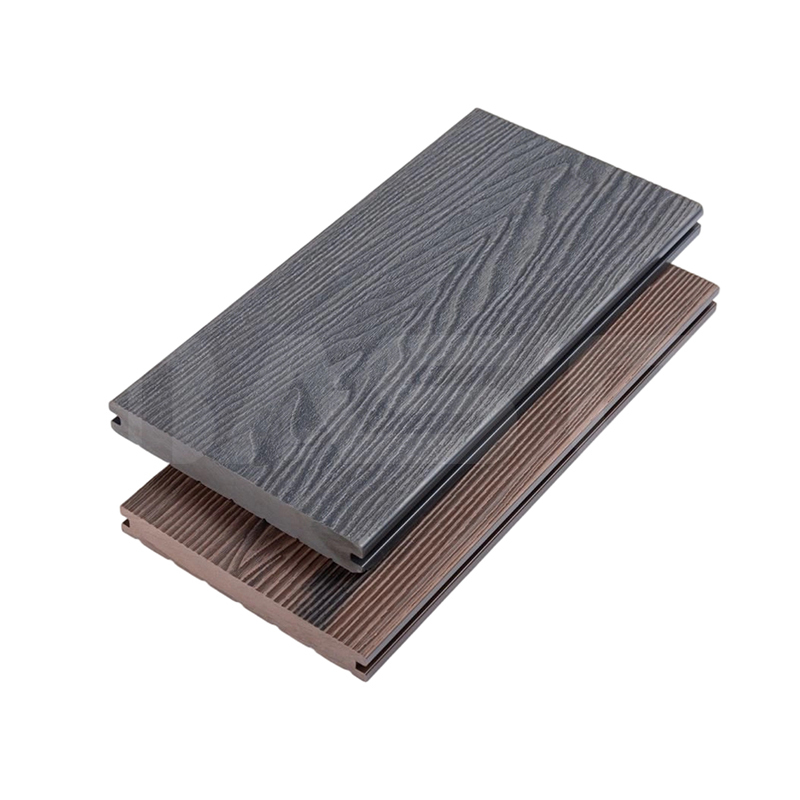
On large open spans, solid-core construction keeps boards flat and reduces joint separation. 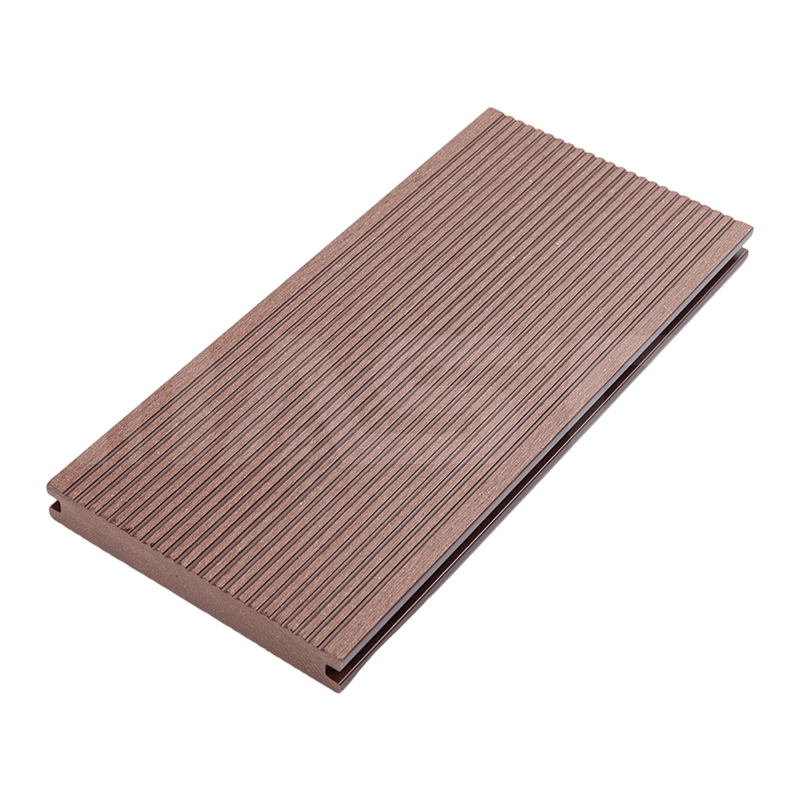 Classic Solid Composite Decking Board 140mm x 23mm with Recycled HDPEMade from 30% recycled HDPE and natural wood fiber, this solid board offers structural strength, insect and rot resistance, and a double-sided wood texture. Its hidden clip system simplifies installation for large outdoor decks.View Product →
Board width also changes the stagger plan. A 140 mm board produces more joints per square meter than a 150 mm board. More joints mean more offset points to manage, so recalculate your stagger pattern once the board width is known.
If you are weighing the trade-offs between co-extrusion and classic WPC, this co-extrusion vs. classic WPC comparison covers the material differences in more detail.
Transition Board Alternative
Some deck builders skip the classic stagger approach entirely. They install a transition board, also known as a breaker board, perpendicular to the main deck boards. The transition board divides the deck surface into shorter runs. All boards on one side start and end at the transition board, and their offcuts go to the other side.
This method gives the deck a visual break every 1.5 to 2.5 meters. It avoids the long line of joints that can creep across a fully staggered field, and it makes expansion control easier because no board is longer than the run between transition boards. The trade-off is extra framing and cutting, but the finished look is more deliberate.
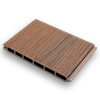
Deep-embossed surfaces help each board read as an individual plank. 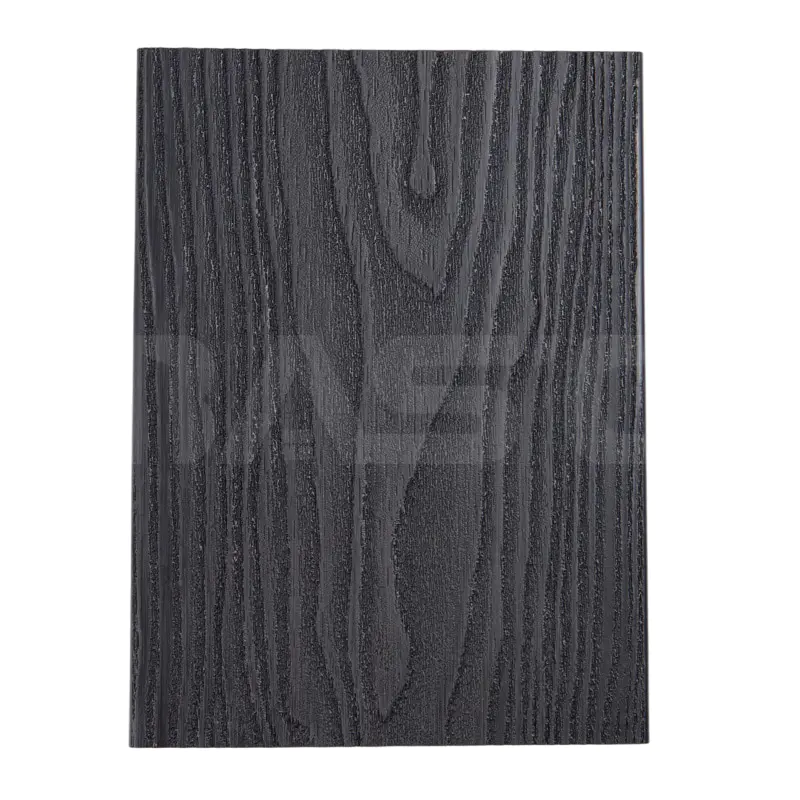 Non-Slip 3D Deep Embossed Composite Decking Board 146mm x 21mmThis board features a 3D deep-embossed wood grain that provides natural slip resistance and UV protection. Its durable solid construction resists warping and pests, while the hidden clip system enables quick installation for outdoor terraces.View Product →
Common Mistakes to Avoid
- Staggering less than 300 mm. Two nearby joints in the same joist bay transfer movement to each other and cause board end lifting.
- Butt joints without support. A board end that floats over an empty gap will chip or crack. Always plan the joist layout so every joint has solid bearing underneath.
- Ignoring joist spacing. At 400 mm on center, a board end can rest on the joist center. At 600 mm on center, double the joist at the joint location.
- Cutting the expansion gap too tight. A 2 mm gap will close as soon as the sun hits the deck. Use the manufacturer minimum recommended 3-5 mm gap at every end joint.
- Driving screws through a hidden clip system. Composite boards are designed for clip fastening. A screw creates a water trap and stops the clip system from functioning correctly.
Final Takeaway
Deck board staggering separates a high-end deck from a chain of future injuries. Put a 300 mm minimum offset on the plan, support every butt joint, and respect the expansion gap. If you sketch the layout first, installation becomes almost mechanical. Skip it, and you are betting the deck lifespan on luck. A little planning now returns a flat, quiet, and good-looking surface for years.
Our News //
Related News
-
Email: [email protected]
Email: [email protected] -
Tel: +86 13732382108
Tel: +86 18705821696 -
 BLDG#1, LONGOUANWU ECO-INDUSTRIALPARK, MIAOXITOWN, WUXINGDISTRICT. HUZHOU. CHINA

Quick Links
Products Center
Copyright © 2025 Huzhou Baosheng New Material Co., Ltd.All Rights Reserved. Composite Decking Manufacturers Composite Cladding Factory
