

 Español
PVC Wall Panels for Bathrooms: Types, Cost & Installation
News-Content
- 1 Why PVC Wall Panels Work Well in Bathrooms
- 2 Types of PVC Bathroom Wall Panels
- 3 How to Install PVC Wall Panels in a Bathroom
- 4 PVC Panels vs. Other Bathroom Wall Materials
- 5 Where to Use PVC Panels in a Bathroom
- 6 Common Mistakes to Avoid
- 7 Maintenance and Longevity
- 8 Is PVC the Right Choice for Your Bathroom?
PVC wall panels are one of the best choices for bathroom walls — they're waterproof, low-maintenance, and significantly cheaper to install than ceramic tiles. Whether you're renovating a dated bathroom or finishing a new one, PVC panels offer a practical, attractive solution that holds up well in humid, wet environments.
This guide covers everything you need to know: panel types, costs, installation, and how PVC compares to other popular wall materials.
Why PVC Wall Panels Work Well in Bathrooms
Bathrooms are one of the most demanding environments for wall materials. Constant moisture, temperature swings, and cleaning chemicals degrade many surfaces over time. PVC (polyvinyl chloride) panels are engineered to handle all of these conditions.
Key reasons homeowners choose PVC panels for bathrooms:
- 100% waterproof — PVC does not absorb water, so there's no risk of swelling, warping, or mold growth behind the panels when properly sealed.
- No grouting required — Unlike tiles, PVC panels have minimal or no grout lines, eliminating a major source of mold and mildew.
- Easy to clean — A damp cloth is typically all that's needed. There are no porous surfaces for soap scum to embed in.
- Fast installation — Most DIY installs take one to two days, compared to three to five days for tiling a comparable area.
- Cost-effective — Material costs typically range from $2 to $10 per square foot, well below ceramic tile at $5–$20 per square foot installed.
A 2023 survey by HomeAdvisor found that bathroom remodels using PVC wall panels came in at an average of 30–40% less in total cost compared to tile installations of the same scope.
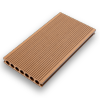
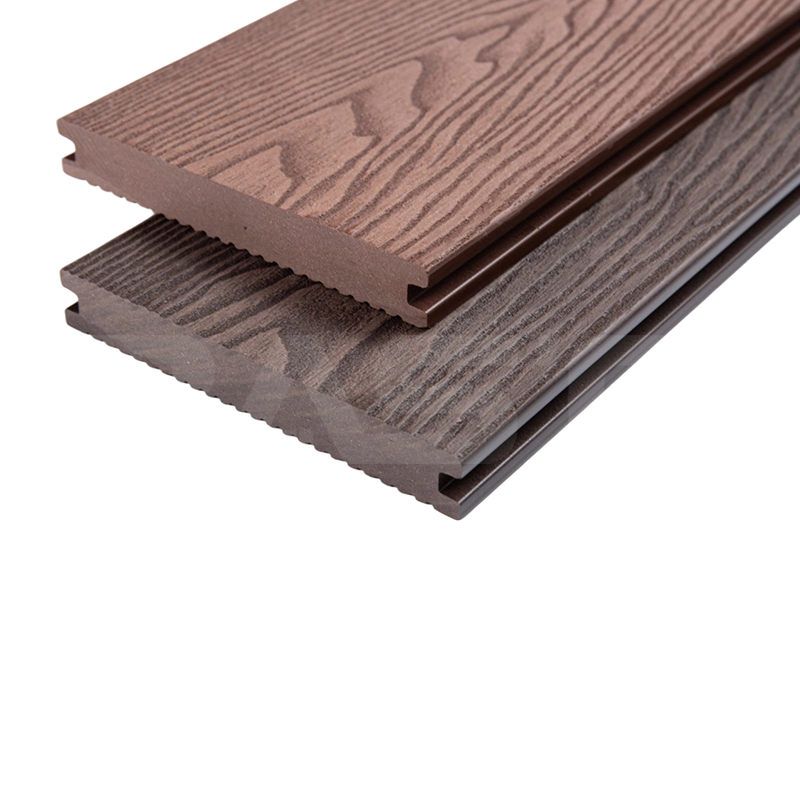
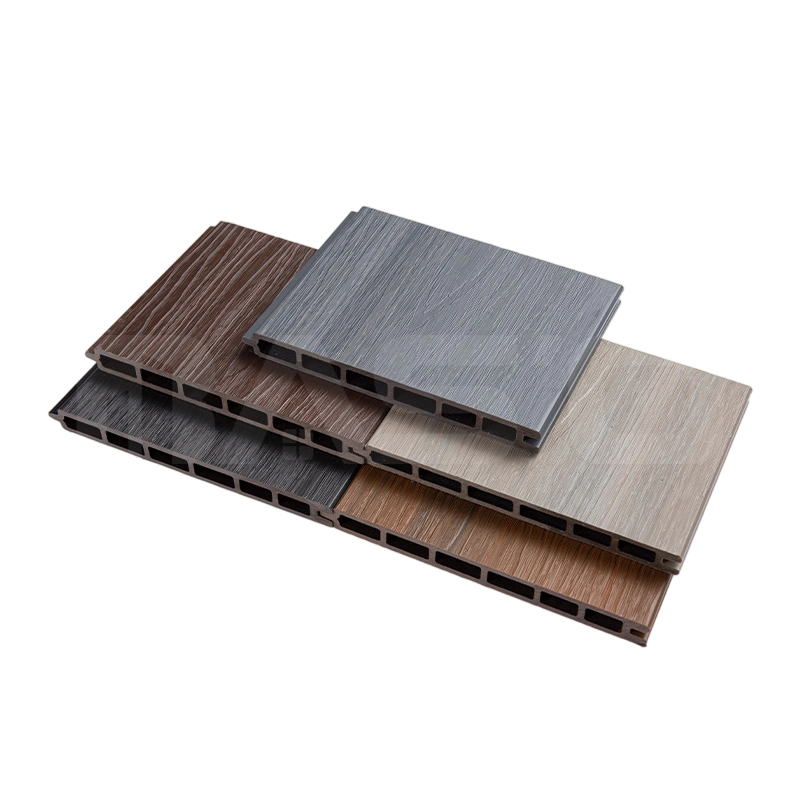
Types of PVC Bathroom Wall Panels
Not all PVC panels are the same. The right type depends on your budget, the look you want, and where in the bathroom they'll be installed.
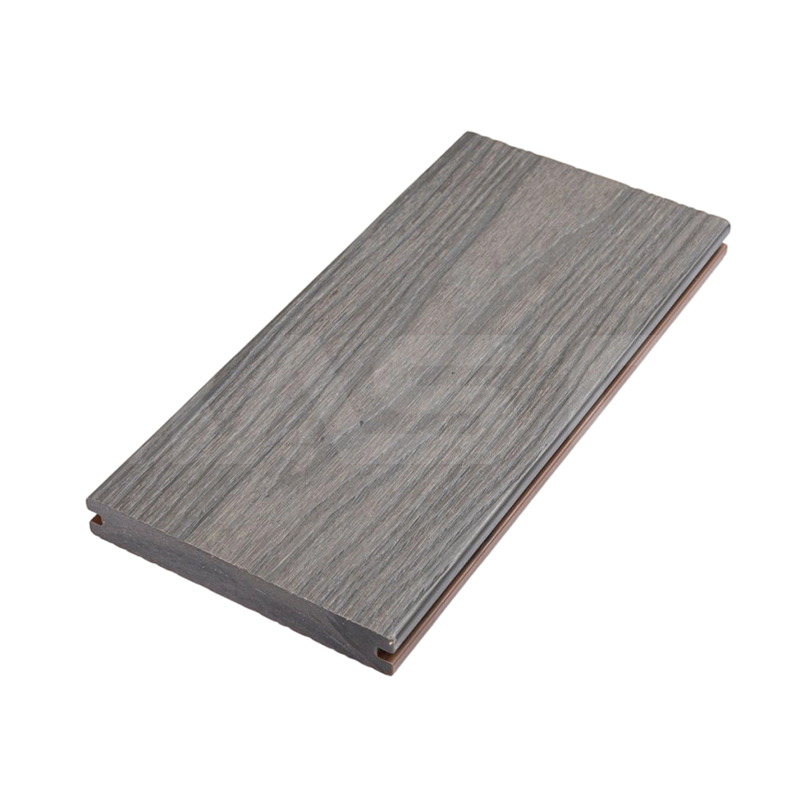
Solid PVC Panels
Made entirely of PVC with no hollow core. These are the most durable and impact-resistant option, best suited for high-traffic family bathrooms. Thickness typically ranges from 5mm to 10mm. Expect to pay $4–$9 per square foot for materials.
Hollow-Core (Twin-Wall) PVC Panels
Lightweight panels with an internal air chamber. They're cheaper and easier to cut, making them popular for DIY projects. However, they dent more easily. Prices start around $2–$5 per square foot. Common thickness is 8mm–10mm.
Foam-Core PVC Panels
These panels feature a rigid foam inner layer sandwiched between PVC skins. They offer excellent insulation and soundproofing, useful in bathrooms adjacent to bedrooms. Slightly more expensive at $5–$10 per square foot.
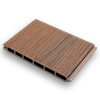
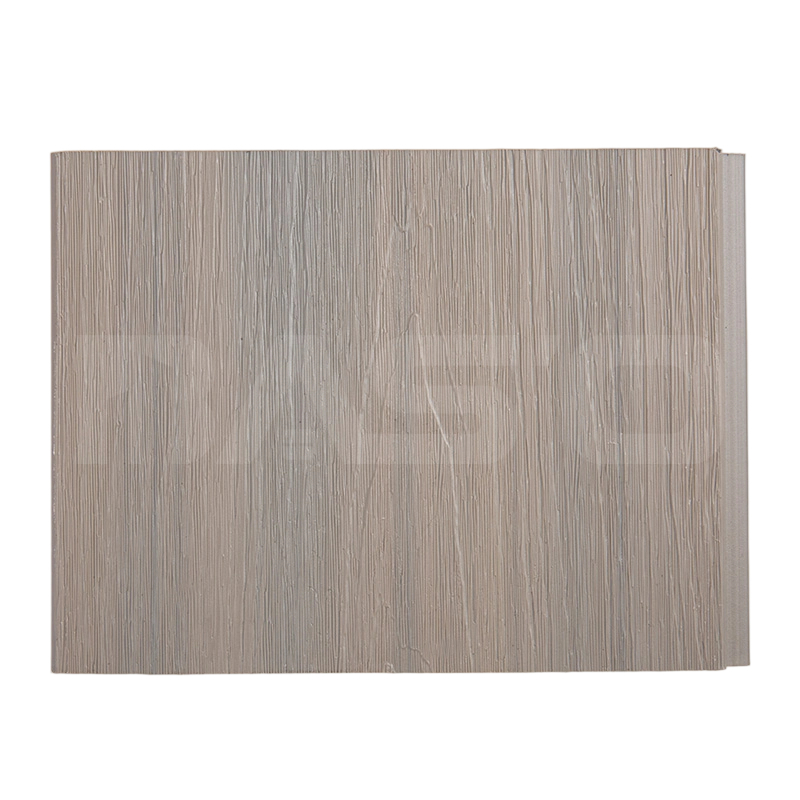
Decorative / Printed PVC Panels
Printed with high-resolution designs — marble, wood grain, mosaic tile, stone — using UV-resistant inks. These are ideal for homeowners who want a premium aesthetic without the premium cost. Prices vary widely: $3–$12 per square foot depending on design complexity.
| Panel Type | Thickness | Price (per sq ft) | Best For |
|---|---|---|---|
| Solid PVC | 5–10mm | $4–$9 | High-traffic bathrooms |
| Hollow-Core | 8–10mm | $2–$5 | Budget DIY installs |
| Foam-Core | 10–12mm | $5–$10 | Insulation & soundproofing |
| Decorative/Printed | 5–8mm | $3–$12 | Aesthetic upgrades |
How to Install PVC Wall Panels in a Bathroom
PVC bathroom wall panels are beginner-friendly. Most standard bathrooms can be paneled over a weekend with basic tools. Here's a practical overview of the process:
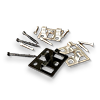
Tools and Materials You'll Need
- Tape measure and pencil
- Fine-tooth handsaw or jigsaw
- Solvent-free adhesive (specifically rated for PVC and wet areas)
- Caulk gun and waterproof silicone sealant
- Spirit level
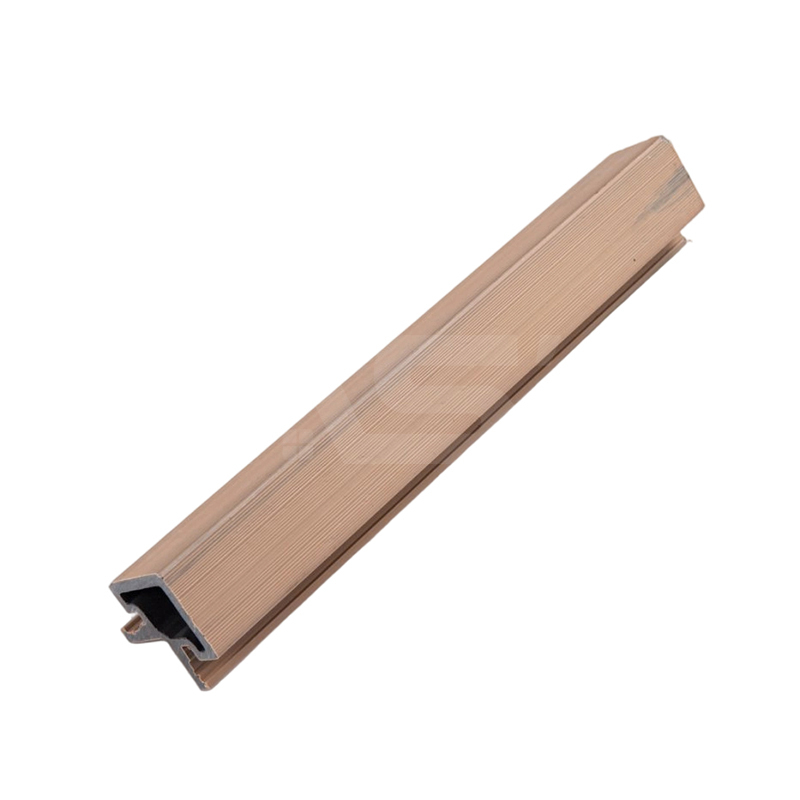
- Trim and edge profiles (H-joints, end caps, corner trims)
Step-by-Step Installation
- Prepare the surface. The existing wall must be clean, dry, and structurally sound. Remove old tiles only if they are loose or uneven — PVC panels can be fixed directly over intact tiles.
- Measure and cut. Measure the height and width of each wall section. Cut panels to size using a fine-tooth saw to avoid cracking. Always leave a 2–3mm expansion gap at the floor and ceiling.
- Install the first panel. Apply adhesive in a zigzag pattern on the back. Press firmly against the wall starting from a corner, using a level to ensure it's vertical.
- Interlock subsequent panels. Tongue-and-groove designs click together. For gap-style panels, use H-joint trims to connect them cleanly.
- Seal all edges. Apply waterproof silicone sealant along every join, corner, and edge — especially around the bath, shower, and basin. This step is critical for preventing water ingress behind the panels.
- Fit trim profiles. Use corner trims and end caps to finish off exposed edges for a neat, professional appearance.
A typical 50 sq ft shower enclosure can be paneled in 4–6 hours by a competent DIYer, compared to 1–2 full days for tiling the same space.
PVC Panels vs. Other Bathroom Wall Materials
PVC panels aren't the only option, and they're not always the right one. Here's how they stack up against the most common alternatives:
| Material | Waterproof | Install Difficulty | Avg. Cost (installed) | Lifespan |
|---|---|---|---|---|
| PVC Panels | Yes | Easy (DIY-friendly) | $5–$15/sq ft | 15–25 years |
| Ceramic Tile | Yes (grout is not) | Moderate–Hard | $10–$25/sq ft | 20–50 years |
| Acrylic Panels | Yes | Easy | $15–$35/sq ft | 20–30 years |
| Paint + Moisture Board | Partial | Easy | $3–$8/sq ft | 5–10 years |
| Natural Stone | With sealing | Hard | $25–$70/sq ft | 50+ years |
PVC panels offer the best balance of cost and practicality for most residential bathrooms. Ceramic tile wins on longevity and resale value; acrylic panels look more premium but cost significantly more. Natural stone is a luxury-tier investment that's overkill for most family bathrooms.
Where to Use PVC Panels in a Bathroom
PVC panels are versatile enough to cover every surface of a bathroom, but they excel in particular zones:
Shower Enclosures and Wet Walls
This is where PVC shines most. Seamless or minimal-join installations eliminate grout lines entirely. Tongue-and-groove panels with silicone-sealed edges create a completely watertight surface that won't harbor mold. Many manufacturers rate their shower panels to withstand direct water contact for 20+ years.
Around the Bathtub
Bath surround panels are one of the most common PVC panel applications. A standard bath panel kit covers three sides of a typical bathtub in 2–3 hours, replacing an afternoon of tiling. The key is ensuring the bottom edge is well-sealed with silicone where it meets the bath rim.
Full Wall Coverage
For a cohesive look, some homeowners panel entire bathroom walls floor to ceiling. This works especially well in smaller bathrooms where the seamless appearance makes the space feel larger. Marble-effect or large-format printed panels are popular for this approach.
Ceilings
PVC ceiling panels are a practical alternative to painted plaster in bathrooms. They resist condensation staining and are easy to wipe clean. Lightweight hollow-core panels are typically used here to minimize weight on the ceiling fixings.
Common Mistakes to Avoid
Even experienced DIYers run into problems with PVC bathroom panels when they skip key steps. Here are the most frequent issues:
- Using the wrong adhesive. Standard construction adhesives can contain solvents that attack PVC. Always use a solvent-free adhesive specifically rated for PVC panel installation.
- Skipping silicone sealing. Adhesive alone is not a watertight seal. Every edge, join, and corner must be finished with waterproof silicone, especially in wet zones.
- Paneling over wet or damaged walls. Trapping moisture behind PVC panels leads to mold growth that can spread unseen. The substrate must be dry and mold-free before installation.
- Not leaving an expansion gap. PVC expands slightly with temperature changes. Without a 2–3mm gap at top and bottom, panels can bow or buckle over time.
- Choosing panels that are too thin. Panels under 5mm are prone to flexing and denting in wall applications. For shower walls, aim for at least 8mm thickness.
Maintenance and Longevity
One of the biggest practical advantages of PVC bathroom wall panels is how little upkeep they need. Here's what routine care looks like:
- Weekly cleaning: Wipe down with a soft cloth and mild detergent. Avoid abrasive pads, which can scratch the surface finish.
- Annual check: Inspect silicone sealant around edges. Re-apply if it shows cracking or discoloration. This prevents water from reaching the substrate.
- Stain removal: For soap scum build-up, a diluted white vinegar solution works well without damaging the surface.
- Avoid harsh chemicals: Strong bleach or acetone-based cleaners can degrade the UV coating on printed panels over time.
With proper installation and basic maintenance, quality PVC bathroom panels typically last 15 to 25 years. UV-stabilized panels maintain their color without yellowing even under artificial lighting used in most bathrooms.
Is PVC the Right Choice for Your Bathroom?
PVC wall panels are the right choice if you prioritize low maintenance, fast installation, and budget efficiency. They're especially well-suited for rental properties, quick bathroom refreshes, and homeowners who want a clean, modern look without the cost and complexity of tiling.
They're less ideal if you're planning a high-end renovation where tile or stone adds significant resale value, or if you prefer the weight and texture of natural materials. But for the vast majority of bathroom projects, PVC panels deliver reliable performance at a price point that's hard to argue with.
The key is choosing the right panel thickness (8mm or more for wet areas), using proper adhesive and silicone sealants, and taking the time to install them correctly — particularly the sealing step. Done right, PVC bathroom wall panels are a durable, attractive, and genuinely low-effort wall solution.
Our News //
Related News
-
Email: [email protected]
Email: [email protected] -
Tel: +86 13732382108
Tel: +86 18705821696 -
 BLDG#1, LONGOUANWU ECO-INDUSTRIALPARK, MIAOXITOWN, WUXINGDISTRICT. HUZHOU. CHINA
Quick Links
Products Center
Copyright © 2025 Huzhou Baosheng New Material Co., Ltd.All Rights Reserved. Composite Decking Manufacturers Composite Cladding Factory
